.jpg)
Often when I ask preschool parents if their child has ever used scissors I get two responses. The first is that they haven’t let them and are afraid of all the things they would cut with them, including their own hair (many parents worst nightmare). The other response is that they haven’t really thought of doing it and/ or thought they were too young to use scissors.
Each year when we begin our preschool year, we don't have scissors out initially. After a few weeks we do a sit down lesson with the scissors. We talk about how to hold the scissors safely, how to carry them safely, how we only cut the paper put out for that purpose in the classroom, etc. Then we do the Mr. Smiley lesson.
.JPG) |
| Showing how to safely transport the scissors safely |
We determine the child's dominant hand (if it's been determined) and draw two dots for eyes and a smile on the dominant hand thumbnail with a washable marker so that when they hold their thumb up they see a smiley face.
.jpg) |
| Mr. Smiley is quite magical, no doubt. |
We show them where to put their thumb and where their fingers go. I give each child a strip of paper that is about 2 inches tall and 8 1/2 inches wide. It has about 1 inch vertical lines on it, each about an inch apart. The goal is to see how they do with cutting on the line and stopping when the line stops.
.JPG)
Instead of correcting when a child turns their hand over while cutting, which happens a lot, we ask if they can see Mr. Smiley smiling at them.
.jpg)
They automatically turn their hand back upright.

This is a beginning of the year baseline so we can see progress from that point forward. After that we put out plastic scissors with the playdough and the children's Fiskars in the art area. We monitor the use to make sure they aren't cutting anything they shouldn't. Sometimes I put out old Scholastic magazines or old household magazines for them to cut on, sometimes we put out ribbons and tape in the art area for them to snip, and we've even put ribbons in our sensory table for them to cut.
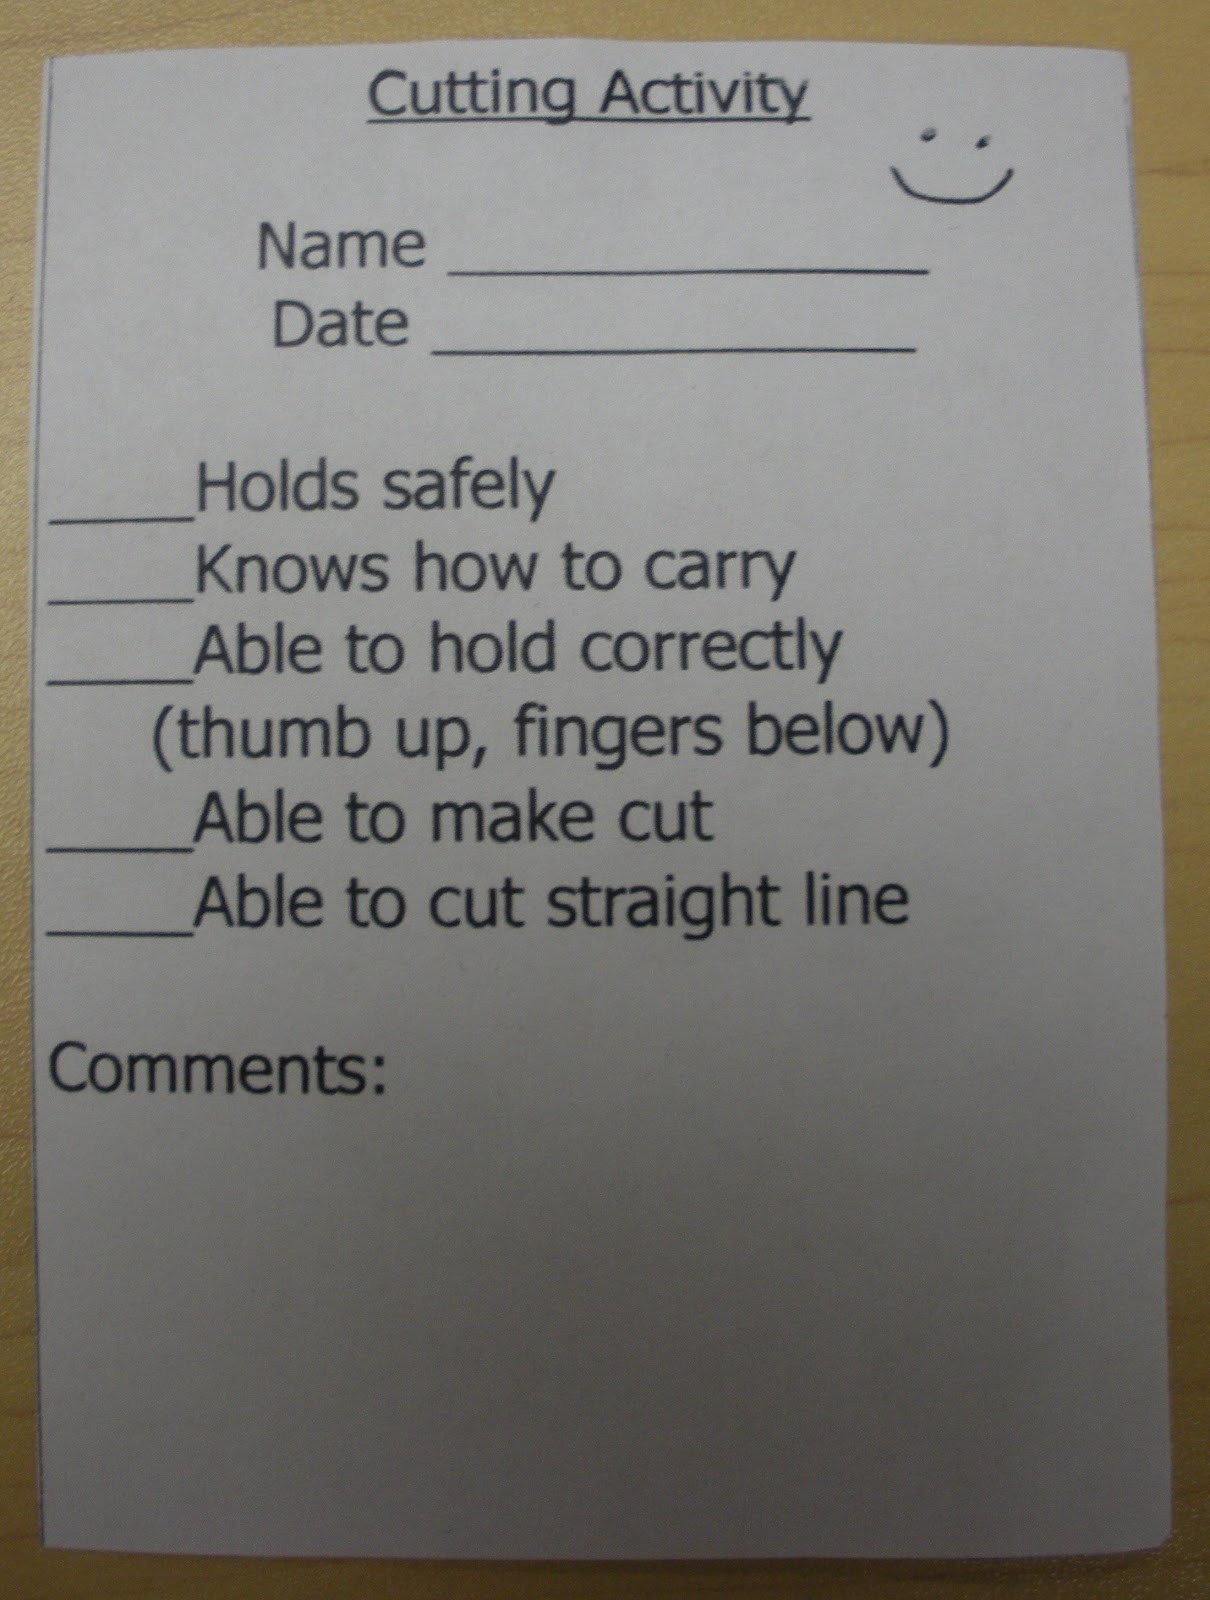 |
| We do this assessment at the beginning of the year and near the end of the year to see the progress a year makes. |
After the introduction and the determination that the child understands the safety issues, the scissors become a permanent part of the art area.
I like the Mr Smiley idea (I might have to steal it!). What a great visual way to quickly determine if the scissors are being held correctly!
ReplyDeleteI really unjoyed the illustration of MR Smilry..very simply and well understood and not to difficult for teachers to teach children how to hold the scissors.I will implement this activity during my practicuum
DeleteThanks, Linda. Steal away. I can't remember where I first saw/heard it or I'd give credit to them, but I've found it to be invaluable. You're not having to make the child feel like you're correcting them and saying, "Turn your hand over,", but just like puppets seem real to them, saying, "Mr. Smiley likes to see your face. Can he see your face?" really works.
DeleteMy 3.5 year old loves scissors. I like the line idea and will start allowing her to do that. :)
ReplyDeleteThat's awesome, Kendall. I'm sure she will love it. When little ones can figure out the whole "how to cut" part, they seem empowered. After she "gets it", I'd provide lots of opportunities. In the spring when my little ones have more or less mastered the skills, I often give them paper with shapes on them, mostly the ones with straight or diagonal lines (triangles, squares, rectangles, stars). They cut and cut and cut. I provide envelopes so they can store their treasures to take home, if they'd like. They are so proud!!
DeleteOh I love the Mr Smiley idea. Thank you for sharing! Using scissors is one thing that I've struggled to teach my son. I've just never figured out a simple way to explain it to him. This idea is perfect. Thank you!
ReplyDeleteNess, I can totally relate. I kept thinking, "There has to be a simpler way." Before I'd try to help the kids, but felt like I was working on a sewing machine. I was holding the paper as they tried to cut something out and was directing "open, shut, open, shut". It isn't a good memory. Mr. Smiley makes such a huge difference!!
DeleteI use Mr. Smiley in my room as well. Instead of drawing it on the child's thumbnail I have drawn the smiley face on the side of the scissors the child should put their thumb in. They are able to self correct their hold on the scissors as well as "thumb up". If they can see the smile, they are holding the scissors correctly:-)
ReplyDeleteI haven't heard of putting Mr. Smiley on the scissors. Thanks for sharing.
DeleteExcellent analysis of the cutting stages and Mr.Smily is such a clever trick! Thank you!
ReplyDeleteYou're welcome. Thanks for the feedback.
ReplyDeleteTaping or clipping paper horizontally to a vertical surface, with the lines along the bottom, encourages your child to use one hand to hold paper away from surface while snipping upward and away from fingers. Fun to do taped to the edge of a desk or table while sitting on the floor. This is also a good way to transition from snips to continuous cutting on increasingly longer, straight lines,while moving the hand up. Cutting stiff paper, cardstock or at least construction paper, is easier for beginners.
ReplyDeletehahaha... this kid has use Hair Cutting Scissors very nicely on paper.
ReplyDeleteI made a not too bad endeavor to get imply about how I could show substance of this blog. I should state, not much intense yet rather I surrendered each one of my weapons not long after subsequent to understanding it. Scissor Sharpening Australia
ReplyDeleteAt some point couple of instructive online journals turn out to be extremely useful while getting pertinent and new data identified with your focused on zone. As I discovered this blog and value the data conveyed to my database. Scissor Master
ReplyDeleteFind the best hairdressing and barber scissor sets here Japan Scissors And Scissor Hub . A hair-cutting scissor set is essential for protecting your hair from damage and splitting. A pair of hairdressing scissors sets can be purchased in Australia for as low as $199 (beginners) and $499 (professional). The price will vary depending on which brand of scissors you choose and what's included in the set.
ReplyDeleteThanks for taking the time to discuss this, I feel strongly about it and love learning more on this topic. If possible, as you gain expertise, would you mind updating your blog with extra information? It is extremely helpful for me. Scissors from Japan
ReplyDeleteThanks for your thoughtful contribution. It's individuals like you who make these discussions engaging and informative. Looking forward to more exchanges in the future Mandarin Preschools in Brooklyn French Preschool Near Me.
ReplyDeleteYour skill and creativity are impressive. Kong The Barber
ReplyDelete