"In this classroom, relationships are fostered, families are respected, and children are honored.
In this classroom, nature's gifts are valued and children's thoughts are captured.
In this classroom, learning is alive and aesthetic beauty is appreciated." -Unknown

Wednesday, November 21, 2012

Inspired by Nature

Children love nature and being outside. Most of the time the outdoors is fully accessible and open to exploration, but you can also incorporate nature into lots of experiences, both indoors and out. The following are some of the things we have tried at our preschool.  

Still life art inspired by some beautiful flowers
brought into class by a parent.
Collecting natural materials for creative expression. This provides
the opportunity to look at nature up close.

Smoosh painting with nature accents. This was inspired by my
friend, Jackie over at http://happyhooligans.ca/
Each child squirted fall paint colors on the posterboard. Wax paper
was placed on it and the child "smooshed" to their heart's content.
Once the paint had dried, each child chose the natural elements they
wanted to glue onto their masterpiece. 

Nature Frames: The group of children chose natural materials and then
worked together to arrange them in the frames. Definitely worth framing!

Still life art inspired by some harvest items

Sunflower Love: posters and books were accents for
these beautiful sunflower heads we had on display.

Flower Suncatchers: paper plates with the center cut out, contact paper
placed in the center, and fresh flowers placed in between. These
turned out beautifully. 

Natural materials are lovely in the block area: tree blocks, unit blocks,
and cardboard caves/mountains, along with forest animals.
Bird display in Science area: feathers, birdhouses, nests, and more...

Beans and peas ready for a Seed Collage

Pumpkin Exploration: cut open and placed in the sensory table
made it accessible for checking out the textures, colors, and more...

Puddle fun: rainboots and recess, it's a win/win.

Fall Collage: fall colored pasta, foam leaves, silk leaves, etc.

Harvest Item Sorting: a variety of harvest items and baskets

Coriander grinding: Mortar and pestles and whole coriander seeds.
A great fine motor activity and it smelled divine!

Nature Item Exploration: tree cookies, antlers, pinecones, leaves,
turtle shell, snakeskin, and more...

Saturday, November 10, 2012

Farmers' Market Fun


After several weeks of enjoying the outdoor farmers' market and the cooler/wetter weather drawing near, we decided it was time for a change. The kiddos were still enjoying playing with the produce and baskets, so we thought we'd try an indoor farmers' market complete with all the produce and baskets, like before, but also adding scales, a cash register, signs, and more.

Incorporating measurement into the activity by adding some
scales and a small basket.

I took photos of the variety of items and we made signs to post
in the baskets.

By adding the signs, it created a sorting and classification activity
for the kids.


All ready for the arrival of the kids.

Loving the baskets some families donated to us.
They are perfect for the gathering of produce.

Busy making harvest selections and preparing to purchase them.

Adding up the cost of the goods for her friends.

Seeing just how much the corn weighs before purchasing.

It's been a very busy place!!


Saturday, October 13, 2012

Fantastically Fun Fall Festivities


With the arrival of Fall comes the most wonderful time of year, in my opinion. The air begins cooling, the leaves begin turning, and all of the wonderful harvest colors abound. I also love all of the Fall and Harvest activities we begin doing with the kiddos. We've been busy and thought we'd share a few of the adventures we've been having with you.

Balance is key as my friends soon find out. Is it easier to balance
with the help of a friend or to do it by yourself? I think it depends
on the load they are carrying, but there was definitely lots of
problem solving and collaboration occurring.

We began setting up our outdoor farmers' market this week with straw bales, a wheelbarrow, wagons, baskets, and many types of harvest items including: Indian corn, pumpkins, apples, gourds, carrots with greens, radishes, potatoes, and more. Our goal isn't so much that they are pretending to buy the items, as it is the community effort that emerges as they transport the items from straw bale to wagon to wheelbarrow to basket and so on. 


Our Harvest of the Month cooking project was a yummy pumpkin parfait, which the kiddos all tried and most really enjoyed. The got to mix canned pumpkin and yogurt and top it off with rice Chex cereal. 


Then it was outside to check out the appearance of a new wagon they could take turns riding. I must say, I was so impressed with the negotiating and give and take that I saw taking place. They had to work out who would pull, who would push, and who would occupy the two rider seats. They would go in one configuration for awhile, then switch around, then give others their turn.


Our amazing Nana Teri brought all the supplies for the kiddos to make a scarecrow and they busied themselves wadding up newspaper to be the stuffing for our newest addition. 


It was a fine dance occurring as some worked on the scarecrow, some pushed the wheelbarrow, some pulled a wagon, some pushed/pulled/rode in the other wagon, and more. There were enough activities to keep all the children busy with Harvest items or other outside opportunities. 

Taking her haul to the market

More collaboration taking place before our eyes

Newspaper wadded and now to begin stuffing the shirt...

Shirt pretty much stuffed, then they
moved on to stuffing the pants...

and she's complete. What a friendly little lady
we have gracing our playground. Thanks, Nana Teri!


I had purchased some watercolor paper and eagerly awaiting the opportunity to use it. I chose a few of our donated Harvest items and placed them on a festive plate, pulled out the liquid watercolors and the special paper and we were set. We encouraged the kiddos to look carefully at the items before they began painting and then to paint "what they saw".


We're having so much fun and there will be many more adventures to come. Happy Fall, Y'all!!

Sunday, September 30, 2012

International Talk Like a Pirate Day


We celebrate September 19th each year with International Talk Like a Pirate Day. We dress up, make our own treasure maps, view and listen to the story How I Became a Pirate, learn some preschool appropriate piratey phrases, learn about navigational tools like a compass, and go on a treasure hunt.

Me with some of my piratey friends. 

Treasure map provocation

Each child could create their own treasure map.

We began following the master treasure map
in search of buried treasure.

It led to the sandbox where everyone began digging...

...and treasure was unearthed.

This amazing "Jolly Roger" was gifted to us by
a former preschool family.


Wednesday, September 12, 2012

Preschool: Cutting with Scissors


Often when I ask preschool parents if their child has ever used scissors I get two responses. The first is that they haven’t let them and are afraid of all the things they would cut with them, including their own hair (many parents worst nightmare). The other response is that they haven’t really thought of doing it and/ or thought they were too young to use scissors.

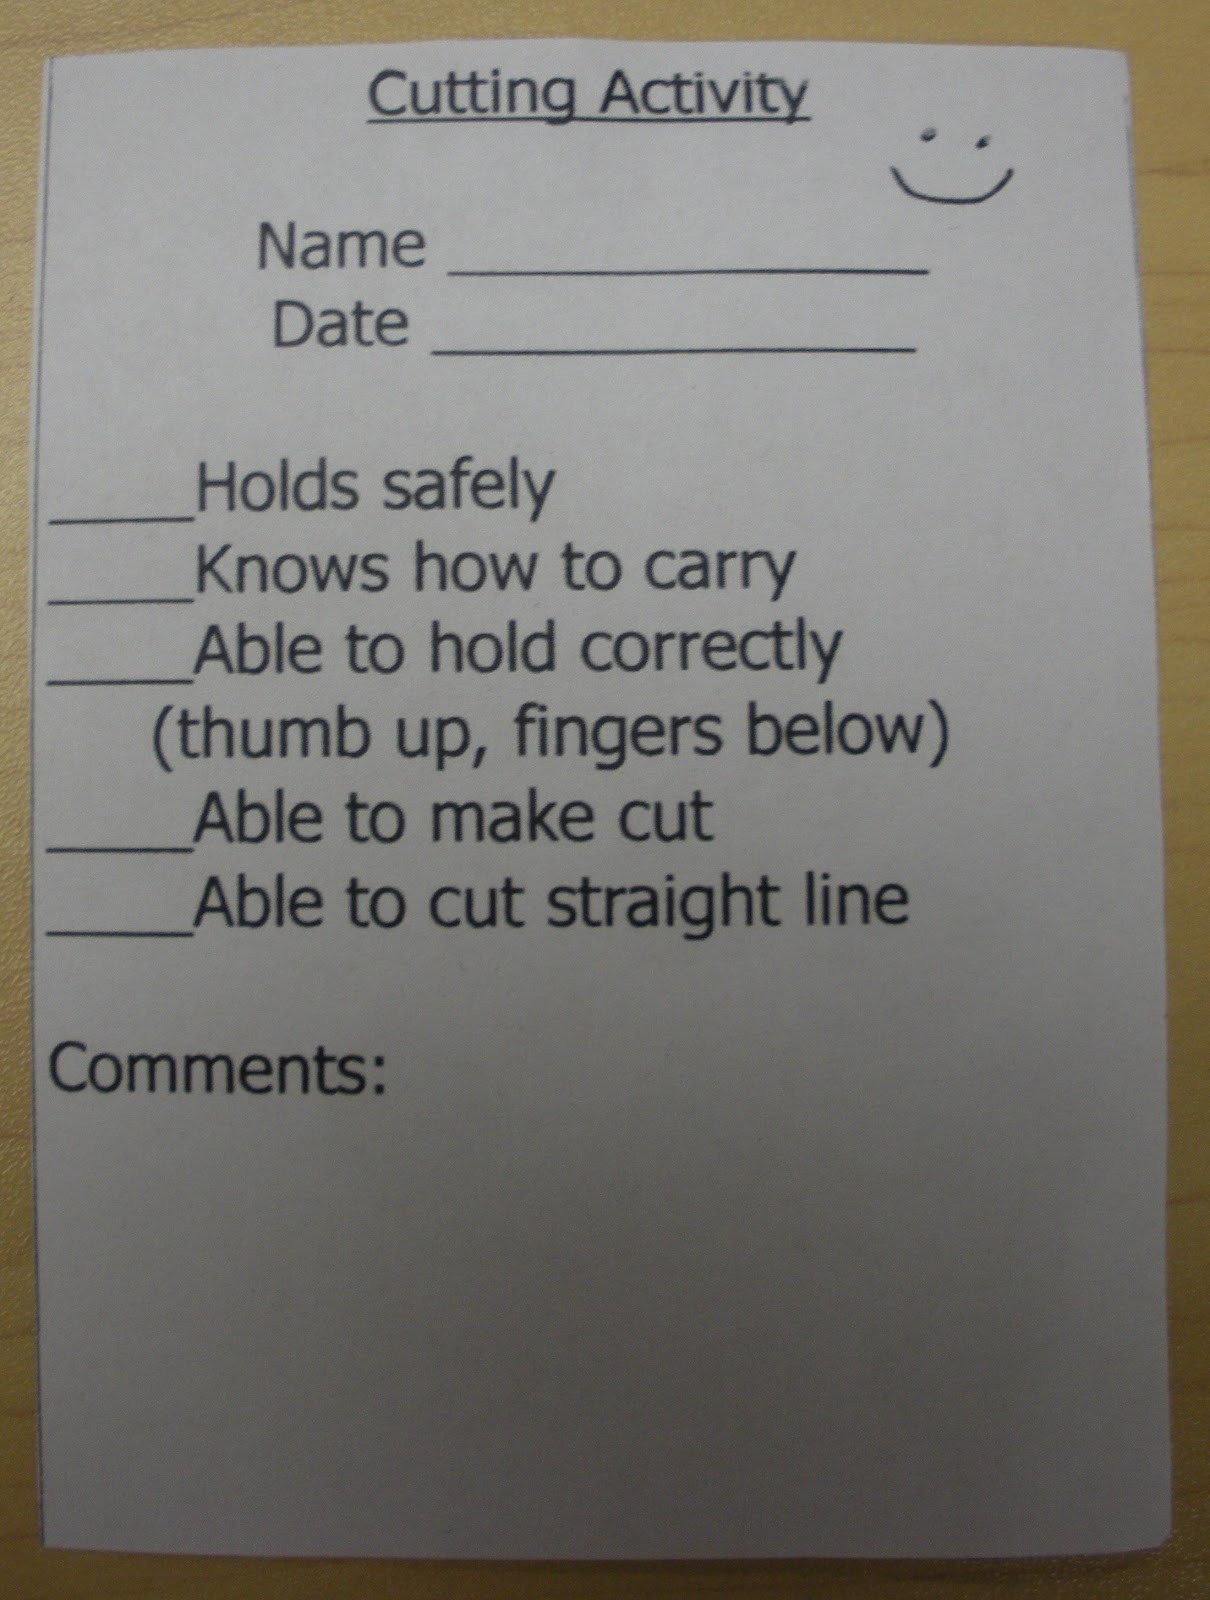
Each year when we begin our preschool year, we don't have scissors out initially. After a few weeks we do a sit down lesson with the scissors. We talk about how to hold the scissors safely, how to carry them safely, how we only cut the paper put out for that purpose in the classroom, etc. Then we do the Mr. Smiley lesson.


Showing how to safely transport the scissors safely

We determine the child's dominant hand (if it's been determined) and draw two dots for eyes and a smile on the dominant hand thumbnail with a washable marker so that when they hold their thumb up they see a smiley face. 


Mr. Smiley is quite magical, no doubt.

We show them where to put their thumb and where their fingers go. I give each child a strip of paper that is about 2 inches tall and 8 1/2 inches wide. It has about 1 inch vertical lines on it, each about an inch apart. The goal is to see how they do with cutting on the line and stopping when the line stops.


Instead of correcting when a child turns their hand over while cutting, which happens a lot, we ask if they can see Mr. Smiley smiling at them. 


They automatically turn their hand back upright. 


This is a beginning of the year baseline so we can see progress from that point forward. After that we put out plastic scissors with the playdough and the children's Fiskars in the art area. We monitor the use to make sure they aren't cutting anything they shouldn't. Sometimes I put out old Scholastic magazines or old household magazines for them to cut on, sometimes we put out ribbons and tape in the art area for them to snip, and we've even put ribbons in our sensory table for them to cut.


We do this assessment at the beginning of the year
and near the end of the year to see the progress
a year makes.

After the introduction and the determination that the child understands the safety issues, the scissors become a permanent part of the art area.