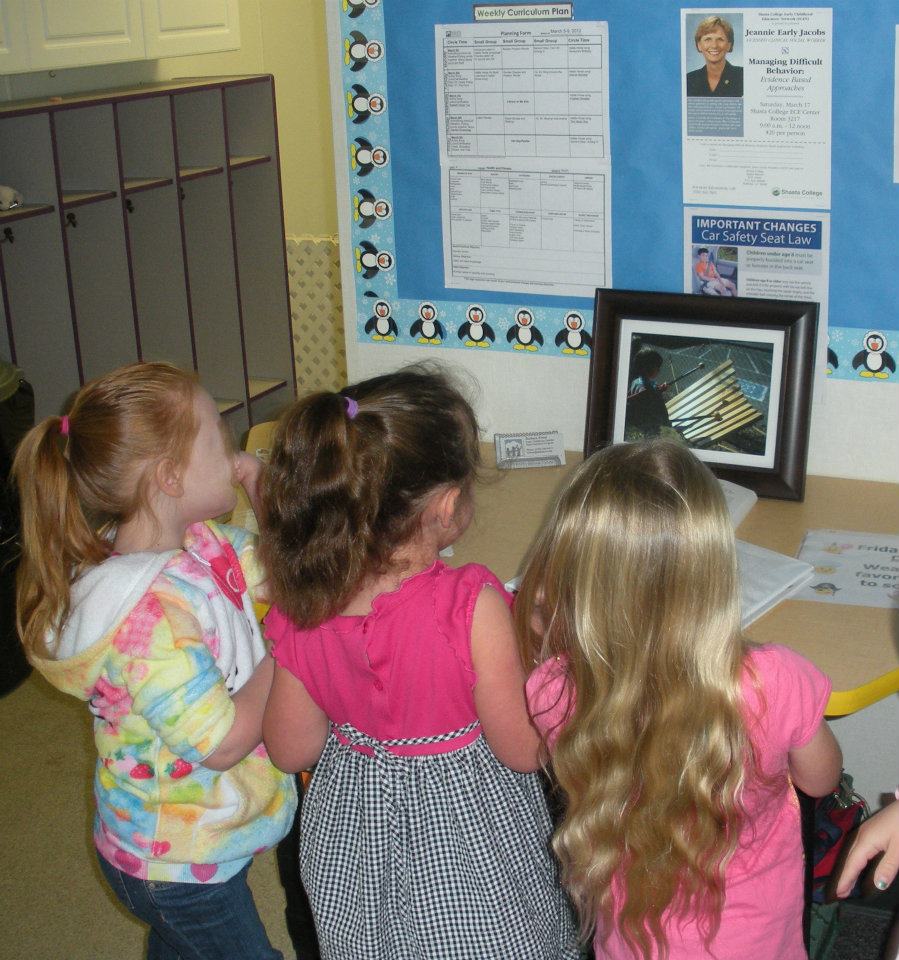
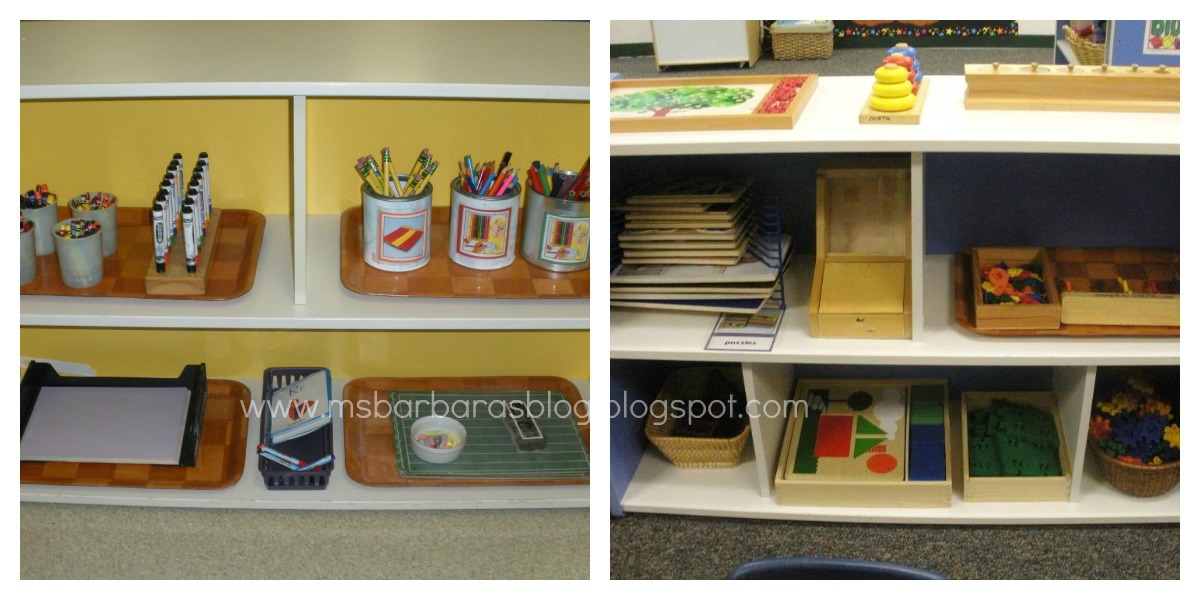
"In this classroom, relationships are fostered, families are respected, and children are honored.
In this classroom, nature's gifts are valued and children's thoughts are captured.
In this classroom, learning is alive and aesthetic beauty is appreciated." -Unknown

Friday, August 17, 2012

Kool-Aid Dying Play Silks: A Colorful Adventure


When I began teaching preschool, a dear friend of mine, who also teaches preschool shared her wisdom about dying play silks with Kool-Aid. I had seen how her play silks had turned out so vibrant and beautiful and already knew the possibilities for use were endless with a child's imagination, so I knew I had to do it for myself. That was five years ago and I can't tell you how many hours of play have occurred due to the presence and possibility of these items. Needless to say, my original play silks have seen better days and I decided to embark on this endeavor once again. My friend, Shannon has a Facebook page for her preschool and I invite you to pay her a visit and check out all the fun she has going on over there, as well. https://www.facebook.com/pages/Small-Wonders-Preschool-of-Fall-River/131075993649811

We started by ordering the silks. We get ours from Dharma Trading Company. The more you order the lower the price, so usually Shannon, my dear friend, Jula, and I usually order together to get the lowest price. I believe Shannon ordered the 30" x 30" Habotai scarves and since we ordered more than 12 our price was lowered from $4.39 to $4.12 per scarf. The arrival of the items after order is very quick and I've always been extremely pleased with all products I've ordered from them. http://www.dharmatrading.com/html/eng/1741-AA.shtml?lnav=scarves_silk.html

Once you have received your silks, you'll need to gather all the other items for the process.

I usually do 6 scarves in the rainbow colors: Red, Orange,
Yellow, Green, Blue, and Purple. Purchase two packs of each
color. I purchased three of the lemonade trying to get a
deeper yellow. It didn't really make it darker, so two is enough.
For blue, you'll need the Ice Blue Raspberry Lemonade.
The Tropical Punch comes in a blue pouch, but it's actually
red, so be sure to get the raspberry lemonade.

You'll need 1/4 cup of white vinegar,
1 1/4 cup water, a small bowl,
a medium microwavable container with lid,
and gloves.

Combine the vinegar and water in your bowl and submerge
one silk in it for 10-15 minutes.


After 10-15 minutes, take out the silk and wring out all of the
liquid that you can.

Loosely place the scarf in the microwavable container and
sprinkle the chosen color of Kool-Aid on it. With your
gloved hands mix the Kool-Aid powder into the damp
silk trying to cover as much area as possible by rotating
the scarf, rubbing the silk against itself, etc. Flip the scarf
over and sprinkle the second pack of the same color on as
before, trying to cover as much as possible.
*While doing this place your second silk in the
vinegar/water mixture to be soaking.

It should look something like this.

Loosely place lid on container so that it doesn't close and
place in microwave on high for 30 seconds. 

**Remove from microwave VERY CAREFULLY. It will be hot.
Carefully remove the lid to let out the steam and "smoosh" the
scarf a little to make sure the color is distributing well.
Place back in microwave with loosely fitting lid for another
30 seconds. **I have a high powered microwave so
I only put the scarf in for the 2 30 second cycles. If your
microwave isn't high powered, it may take 3 cycles.
**You want the scarf to be somewhat dry, no loose liquid in
the container. **If you cook it for too long it could CATCH
FIRE, so be very cautious with this step. 

Remove the scarf from the container.

Rinse the scarf out completely with cold water. (No, the red
scarf didn't turn orange. I forgot to get a photo of this step
with the red scarf, so I captured it with the next color)
Wring out all water, then hang to dry, making sure the scarves
don't touch each other while drying.

After mine were dry, I placed them together for a photo.
You can see that the yellow still didn't get extremely brilliant
using 3 packets, so I'd just use two. The blue isn't a primary
blue, but a brilliant blue still. And the purple is really cool!
When you put the purple KoolAid powder in it looks black,
but don't worry, it will make a deep, violet for you.

I spread them out on the railing for you to see how they look
side by side.

Play silks have the potential to be anything you and/or your child imagines them to be. I've used the blue for water in the block area and the green for grass/forest, as well, but most of the use has been in wearing them. They've been dresses, skirts, superhero capes, princess headdress, pirate headdress, and more. I'd love to see your your play silks turn out! Please send a photo to me at the For the Children Facebook page: https://www.facebook.com/pages/For-the-Children/170943436350531?ref=hl

A huge thanks to my friends, Shannon and Jula for sharing this fun project with me!
  

Thursday, August 9, 2012

Preschool Time: Welcoming Parents and Helping Them Feel Connected


One of the most difficult things for the parent of a preschool child is leaving their child for those first few days of preschool. Often these times of separation are as hard or harder on the parent than they are on the child. The child may be upset, but is generally pretty quickly engaged with other children and activities, whereas the parent may continue thinking about the departure for some time. As an early childhood educator, we have the opportunity to try to make this as smooth of a transition as possible for all involved. Many times the unknown can be scarier than the reality of a situation. By sharing information and making families feel welcome, some of the scariness can be lessened.

Some families choose to visit the program in the spring prior to enrolling. This is a good opportunity for them (parent(s) and child) to see the natural progression of the day of children that are completing either their first or second year of preschool. It’s a chance for them to ask questions and for the child to engage with future peers. However, not all families make the early preschool visit and some of them enroll through our enrollment office without visiting first.

Prior to the school year starting I try to connect with each family by sending them a Welcome Letter. The letter includes an introduction, information about our first day mini class and what we will do during that time, information about regular school days, and contact information, should they have questions prior to the first day. I send a Welcome Letter to returning students that is a little different from the one going to new students. This is a sample from last year.


I also include a parent questionnaire and ask them to complete it and return it to me on the first day of school. It requests information about the child’s interactions with siblings, favorite toys, favorite and least favorite activities, pets, parent goals, needs/requests, etc. 


When families arrive on our first day for our mini day orientation I greet them and give them a “treasure hunt” form with a checklist of activities and observations to do inside and outside the classroom. While children do an art masterpiece at a table, I go over paperwork and address any questions/concerns parents may have. We also take a photo of the family that will be placed on an apple image and put on our apple “family” tree in our reading loft, which stays there all year. Just like the Welcome Letter, the Treasure Hunt form is a little different for new students as it is for returning students. 


Part of our Parent Board postings include a photo of each staff  member with personal information about our families, pets, education, favorites, aspirations, and favorite quotes at the beginning of the year. This gives the families the opportunity to learn a little about us. The Parent Board also includes the daily schedule, the weekly lesson plan, the monthly calendar, the monthly lunch menu, the yearly school calendar, and more.  


We love having parents, grandparents, etc. volunteer to help in our classroom. Part of the first day paperwork includes a Volunteer Survey where they may share ideas, hobbies, and interests that may coincide with our program. On this form they are welcome to let us know when they would like to volunteer if it will be on a weekly or bi-weekly basis and if they would like to work on projects at home. Prior to a person volunteering, they read over our volunteer policies pertaining to confidentiality and best practices and sign a statement agreeing to adhere to these policies.


Once we begin our regular school schedule, we request families to encourage their child as he/she signs in for the day and help them engage in play. We have a “goodbye window” and we strongly encourage families to make sure their child knows when they are leaving and as the child stands at the window, to wave goodbye before they leave.

I take thousands of photos during the school year. This past year we invested in a digital picture frame that I periodically change with current photos. We keep it on the parent table, so families are able to view these images as they sign in and out each day.  It’s a great way for the families to see the daily goings on of our program when they aren’t able to be there and many times it serves as a conversation starter as children are  prompted of memories of an event as they see them on the screen. 


I want families to know that I acknowledge that they are their child’s first teacher and my goal is not to replace them, but to partner with them on this journey. One book that I read the summer prior to teaching my first class made a lasting impression on me and is one that I would strongly recommend all early childhood educators read.  It’s called From Parents to Partners by Janis Keyserhttp://www.amazon.com/From-Parents-Partners-Family-Centered-Childhood/dp/1929610882


The preschool class turns strangers into family. The environment should be warm and welcoming and all should feel that they belong. The staff should be supportive and encouraging. We have a tremendous opportunity as we are the very beginning of the educational process. We have the opportunity to instill a love of learning that can be nurtured and empowered to grow into something truly beautiful. What an honor, privilege, and responsibility; what a gift.

All the best to you as you begin your new school year!!


Saturday, July 21, 2012

10+ Ways to Know It's a High Quality Program


This post is for families looking for a high quality program or educators setting up and/or maintaining a program. By no means, is this the end of the list of items that you should be able to see, but it's definitely a start. Also, this list is focusing on the physical indoor environment. There's lots more to be said about the emotional/relationships that should be occurring and the importance of the outdoor environment, as well, and perhaps those items can be covered in later posts. These items are also numbered, but not in order of importance, but simply to keep up with the number of items we are listing. So, let's get started...

1. Pleasing to all of the senses: The sights should be appealing, the sounds should be pleasant, the smell should be to your liking, and there should be hands-on experiences to meet the needs of the kinesthetic (tactile) learner. You'll note I didn't mention taste. Though that is equally important, if you're visiting a program it very well may be something you don't necessarily experience. 

2. Open and inviting: It should be open enough for children and adults to maneuver around freely, including individuals with adaptive equipment, but not open enough to encourage running in class.

3. Clean and organized by areas or interest centers: In our class we have these areas: dramatic play, music, blocks, manipulatives, math/science, art, library/listening center/reading loft, writing. We also rotate some centers throughout the year including: a train table, a Lego table, a dollhouse, a zoo, a light table, and more. The shelves should be open and inviting and not too cluttered, so that children feel at ease choosing items to use and know where to return them. 


4. At the Children’s level: We must ask ourselves, "Who is this classroom set up for? Is everything on a level that appeals to the children in my program?" One suggestion I have heard, that is timeless, is to get down yourself on the level of the children in the program. This may mean walking around on your knees or even on your hands and knees. Then ask yourself, "Is everything meant for the children's benefit on a level that they can access it themselves and see/experience it fully?" If the answer is "no", you may want to make some changes. An example of this is the low shelving, but another very important aspect are the wall displays. If you have a calendar, ABC wall, helper chart, and the like, can the children easily reach to utilize it? If you are displaying their artwork, documentation of their work/experiences, etc., can they view it easily? I want all usable activities (calender, ABC wall, helper chart) easily within their reach and generally display things no higher than 4 feet up a wall.

5. Natural lighting/Plants: Children and nature go hand in hand, so for the time they spend indoors, it’s beneficial to bring the outdoors inside. Natural lighting is both aesthetically pleasing and promotes a sense of well being in all of us. Our program has fluorescent lighting and we spend much of the time with the lights turned off or at least dimmed to a degree. We open the blinds (and doors, when we can) and let that natural light permeate the environment. Hanging prisms and/or beautiful wind chimes and placing beautifully colored items in the window can accentuate and take advantage of the glorious sunshine. Plants are another way to bring nature into the classroom and provide opportunities for children to be helpers by taking care of them. Be sure to check to verify that the plants you have chosen are not toxic to children. A site such as this lists common toxic plants http://aggie-horticulture.tamu.edu/lawn_garden/poison/poison.html   It’s always a good idea to find a site or book that contains plants common to your area. 


6. Natural materials: I love incorporating natural materials and fibers into the preschool environment. My classroom has a variety of colored shelves, tables, and chairs, none of which I can change at this time. However, I am making strides to change the things I can. I use a variety of baskets and wooden materials throughout the classroom. There’s just something about these natural items that are warm and inviting to us all.  

7. Real materials: Just like the natural materials listed above, these give the children a sense of pride and responsibility as they are being trusted with them. Using real dishes and pots and pans may increase the chances of something breaking, but it gives the children real life experiences that they don’t get with plastic items. Incorporating real materials such as: bird nests, sunflower heads, seashells, fossils, wooden tree blocks, driftwood, and the like, help them have genuine natural experiences. 


8. Cozy areas: Classrooms have areas for large groups and small groups, but it is essential that there are places for only one or two children to gather. Sometimes children are overwhelmed with stimulation from many others and need a place to go that’s cozy, calm, and reflective. We have a bench with stuffed animals on it, a soft sofa in the library, and our reading loft for this purpose.

9. Inviting provocations: We want children to feel free to pull items off the shelf  that they wish to engage with, but often setting up a provocation (invitation) with a variety of materials is effective to have children choose to participate that maybe wouldn’t have chosen to otherwise. Items should be aesthetically pleasing and should pique curiosity and wonder about the items and often inspire and invite children to explore them.  


10. Ratios: Much can be said about ratios. However, most programs based on their licensing and such, have determined ratios based on the size of the classroom and the number of children allowed to be enrolled. The best scenario is always one adult to the lowest number of children possible. Our program is licensed for 20 students and our license ratio for adults to children in 1:8. It’s also good to look at the schedule for indicators of individualized and/or small group attention. In our program we have ample exploration time where the children choose their own activities, two large group times, and small group times.

11. Diversity: You should be able to see the representation of the children attending throughout the classroom in books, dolls, posters, in cooking (food and tools used) and materials along with artifacts and things viewed in their everyday lives. This diversity includes: race, ethnicity, abilities, ages, and lifestyles.


There are many more things to learn and see when you take the time to really look at a program including the relationships, philosophy, outdoor environment, etc., but this should give you a good foundation of things you should see in a high quality indoor classroom environment.


Thursday, July 12, 2012

We Are All Alike...We Are All Different


Before you know it a new school year will be beginning. We'll be gathering lots of little ones together that don't know each other, haven't played together before, and it's a whole new experience for many of them. As the adult caregivers we have the amazing opportunity to invite all these little people into a new relationship, our classroom family. For some of them, this will be their first play experience with children they haven't known all their lives and learning about each other, how we're alike and different, and how to accept all of it and work together is the beginning of embarking on a new adventure.


One of the obvious differences would be appearance: different skin tones, hair colors, eye colors, heights, weights, physical abilities, etc. We display multi-cultural, varying skin tones, different ages, different abilities, and the like through dolls, books, posters, and more. One book we choose to use to demonstrate likenesses and differences is We Are All Alike...We Are All Different by Laura Dwight and a group of kindergarten children. 


The photographic images and kid-drawn images are appealing and encourage the children to look at themselves and their friends.
We then pull out the Crayola Multicultural Washable Paint. They come in 8 colors: Beige, Bronze, Brown, Mahogany, Olive, Peach, Tan, Terra Cotta.


I would choose the two colors that I thought were the closest to that child's skin tone, as one color rarely would match. I'd blend the two colors on the back of the child's hand to see if we came up with the right combo.


Once we determined the color or color combo that matched that child's skin, we'd mix up a small batch of the color in preparation for their self-portrait. You'd hear them saying, "My skin is beige-bronze." "My skin is peach-tan."


Each child then painted their personalized skin-tone on the face outline and we waited for it to dry. 


Continuing our self-portrait project from the day before, the child looks at him/herself in the mirror determining his/her eye color, then add eyes, a nose, and a mouth. Another look in the mirror determines hair color and we measure yarn to match the length. This little guy has spiky hair on top so we measured it for his portrait, also. LOVE IT!!


Here's the end result. Each child's is uniquely his or her likeness. We listed the color or color combo of the skin paint at the bottom of the portraits.


We wanted to get the parents involved, so we took photos of each child's hands to see if the parents could identify them. Most parents admitted that it was harder than they thought it would be.


These are a couple of many activities you can do to develop and understanding and acceptance of likenesses and differences among the children in a gathering. What kinds of things do you do in your program?

Friday, July 6, 2012

Volcanoes and Dinosaurs and Summer, Oh My!! Part 2

The dinosaur adventures continued as we did various art projects, had a variety of sensory experiences, learned about and made our own fossils, had a dino hunt, and more...


We have these plastic dinosaur templates with punch-out centers.
We lightly taped the centers down and the children painted around
them as they chose to do, leaving a cool dino print when the
center is removed.

We created cloud dough, which we dubbed "Dino Dough" and
had lots of dinosaur adventures in it. It smelled great and felt, oh
so silky. (5-8 cups of plain flour, 1 cup baby oil; I began with
5 cups and put it out, but added more flour as the days went by)

We learned about Animal Defenses through our GEMS guide
and discussed how dinosaurs could protect themselves.
We used an overhead projector (a dinosaur in its own right) and
projected images on the blinds. The kids loved the adventure
of seeing things in a new way. (This is a T-Rex hanging out
near an erupting volcano)

We had a generic dinosaur and discussed which one was better
able to protect itself through it's defenses.

Each child was able to choose the defenses they wanted for
their dinosaur. After they were dried we projected "their
dinosaur" on the wall and they shared the defenses
they had given their dinosaur.

Animal Defenses is another guide created through
GEMS (Great Explorations in Math and Science) at
Lawrence Hall of Science, UC Berkeley. They are an
amazing resource. You can find more information at
this link: www.lhsgems.org  Click on guides to see
all the ones they have available.

We later used the outline stencils to make another view
of the dinosaurs.

We played "Pin the Horn on the Triceratops".

We made dinosaur tracks with paint.

We did the story of the Baby Stegosaurus, "Are You My Mommy?"
during group time and left the board out for the children
to re-enact it themselves. 

We discovered dinosaur skeletons buried in the dino dough
and gently brushed away the sediment.

We created our own fossils from either a T-Rex footprint...

or lying small dinos in the dough, then baking on low heat.

Be sure to go back to our previous post to read more
about this adventure.
http://msbarbarasblog.blogspot.com/2012/06/its-dino-dig.html   

We did dino sticker stories. Each child chose some dinosaurs
to place on the paper and then dictated a story to me, which I
wrote down exactly as they said it. We later discussed the role
of an author and read their stories at a group time.

What an adventure we've had. We had three full weeks of dinosaur adventures, explorations, and learning. What an amazing way to end our school year!